Setting up and running Snort on Ubuntu
By: 4reW | #Snort #IDPS #WAF #DevSecOps
Snort is an Intrusion Detection and Prevention System (IDPS) designed to protect networks against malicious traffic and requests. As it is capable of detecting suspicious activity, such as malicious requests or traffic, it is able to take action to block such activities before they reach their destinations. IDPS systems are an integral part of any security infrastructure, as they protect against malicious actors exploiting potential security vulnerabilities. Furthermore, Snort can also be configured to act as a Web Application Firewall (WAF).
Today, I’m going to share my knowledge on setting up Snort! Snort is a powerful tool for intrusion detection and prevention. I will explain the steps needed to setup Snort on your network and walk you through configuring snort and testing your setup. I’ll also provide helpful tips and tricks that will help you get the most out of Snort.
First make sure your system is up to date: sudo apt update sudo apt upgrade
To install on Ubuntu use the following command: sudo apt install snort
Next we want to configure Ubuntu’s network settings to allow the snort traffic to be monitored
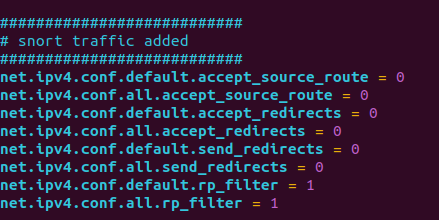
Edit /etc/sysctl.conf and add the following lines:
- net.ipv4.conf.default.accept_source_route = 0
- net.ipv4.conf.all.accept_source_route = 0
- net.ipv4.conf.default.accept_redirects = 0
- net.ipv4.conf.all.accept_redirects = 0
- net.ipv4.conf.default.send_redirects = 0
- net.ipv4.conf.all.send_redirects = 0
- net.ipv4.conf.default.rp_filter = 1
- net.ipv4.conf.all.rp_filter = 1
The sysctl.conf file’s “rp_filter” setting is an important component of network security, as it enables reverse path filtering. By allowing reverse path filtering, the kernel can determine whether incoming packets originate from the same source as the corresponding reply packets. Thus, turning on this setting helps to block malicious packets from entering the network. For this reason, it is essential to activate the rp_filter setting in the sysctl.conf file for Snort in order to provide increased protection against malicious activity on the network.
Next we will need to update the snort config file. This is where we tell snort how to process the traffic, what traffic to look for, and when and how to output alerts.
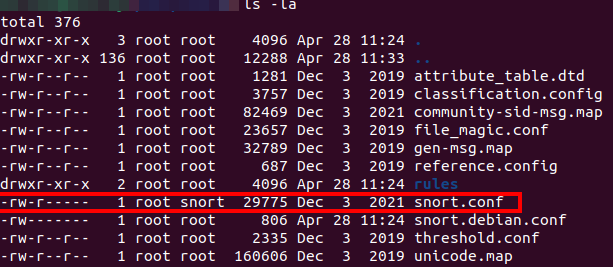
Locating the snort config:
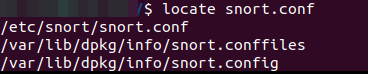
Snort config location:
#config information
The config files does several things. It tells snort what traffic to scan like the port you want to keep an eye on, what to look for and the rules you want to scan against, and finally how to log/output alerts.
things it can scan for:
- active scanning
- shellcode rules
- suspicious TCP/UDP traffic
- suspicious connections to your web/ssh/ftp/smb servers or outwards
Here is a look at it’s basic port conifigurations:
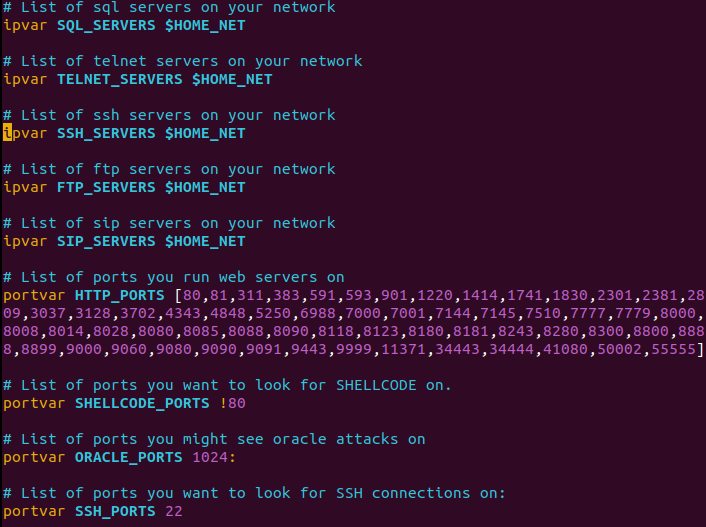
reading through the config you will come across some preprocessor and decoder configurations as well.
The Snort decoder and preprocessors fulfill a vital role in the network security infrastructure, providing the capacity to dissect and analyze packets as they are received. The decoder dissects the packets into their applicable protocol headers while the preprocessors further analyse the data, performing such functions as stream reassembly, protocol normalization and port scanning detection. In essence, the combination of these capabilities allows Snort to detect and respond accurately to malicious activity.
Finally the part that makes snort shine is the output plugin settings. The output plugin allows you to automate piping alerts to your desired file/webapp for logging purposes
here are a few output formats:
- xml, cvs,unified outputs, and system logs
Unified binary output can be used with something like Barnyard for additional features such as JSON support for web api integration
You can also create a basic CSV using:
- output alert_csv: filename (options seperated by commas)
Most of these settings can be left as default for now. But, you will want to install PullPork aftwards for the ability to automatically update the community rulesets for instrusion detection.
Finally, after setting the above up. you will need to be root to access your network interfaces when running Snort.
use the following command for snort:
- sudo snort -i (network interface) -v -c /etc/snort/snort.conf
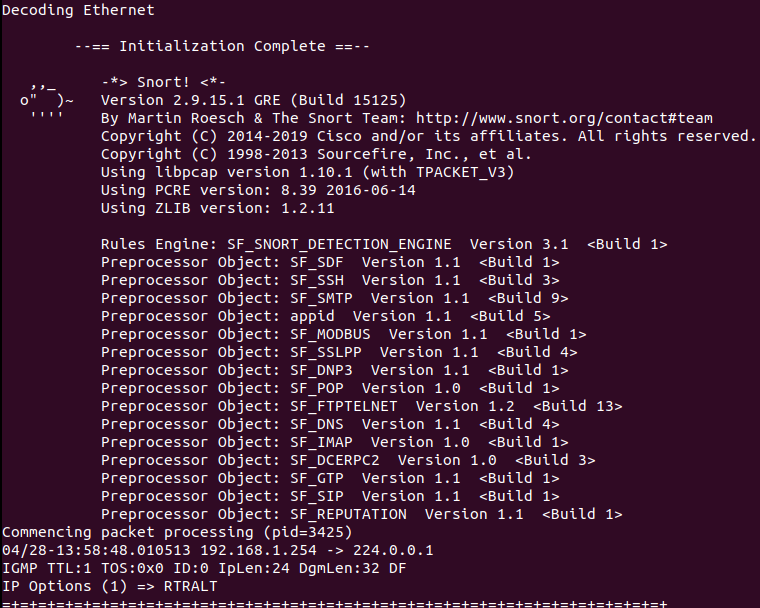
Snort is now ready to generate text-based alerts when potentially malicious activity is detected on a network. These alerts provide essential details, such as source and destination IP addresses, port numbers, and applicable alert messages, about the traffic that may warrant attention.
#Snort as a WAF
Web Application Firewalls (WAFs) are becoming an invaluable tool for organizations to protect their applications and data as they increasingly migrate these assets to the cloud. WAFs are capable of detecting and blocking malicious traffic, as well as filtering out malicious requests such as those associated with SQL injection and cross-site scripting attacks, thus providing an effective defense against malicious actors.
Additionally, Snort IPS mode provides an added layer of security, allowing it to take action against suspicious behaviors including blocking malicious traffic and filtering out malicious requests. Ultimately, WAFs and Snort’s IPS mode ensure that an organization’s applications and data remain secure against malicious actors.
The IPS mode can be activated when starting Snort using “-Q –daq afpacket” followed by the interfaces arguement “-i eth0:eth1” where eth0 and eth1 are the network interfaces you’d like to join.
With IPS enabled, you’ll be able to add some simple rules using regular expression to the snort config file to drop harmful traffic
Example - to block SQL injection rule
drop TCP any any -> your_target_server_ip 80 (flow:to_server; content:!"GET"; nocase;
pcre="[\'\"\;\:\|\&\$\%\@\\\/<>()+,]")
Above rule will filter:
- From any Source IP
- From any source Port
- Destination IP is your_target_server_ip, you need to change this
- Destination Port is 80 (HTTP)
- Content should have value “GET “ – can be changed to “POST”
- Word “nocase” specifies matching is not case sensitive
- filter based on Regular expression mentioned in “pcre=”['"\;:|\&$\%\@\\/<>()+,]” will not allow ‘ “ ; : | & @ \ / < > ( ) + , characters in request.
Here are additional resources and documentation for further customizing snort.
About 4reW

Hi there, I'm a software engineer interested in exploring security research. My background in software engineering has given me the opportunity to develop secure code, secure review code, and conduct application security analysis.